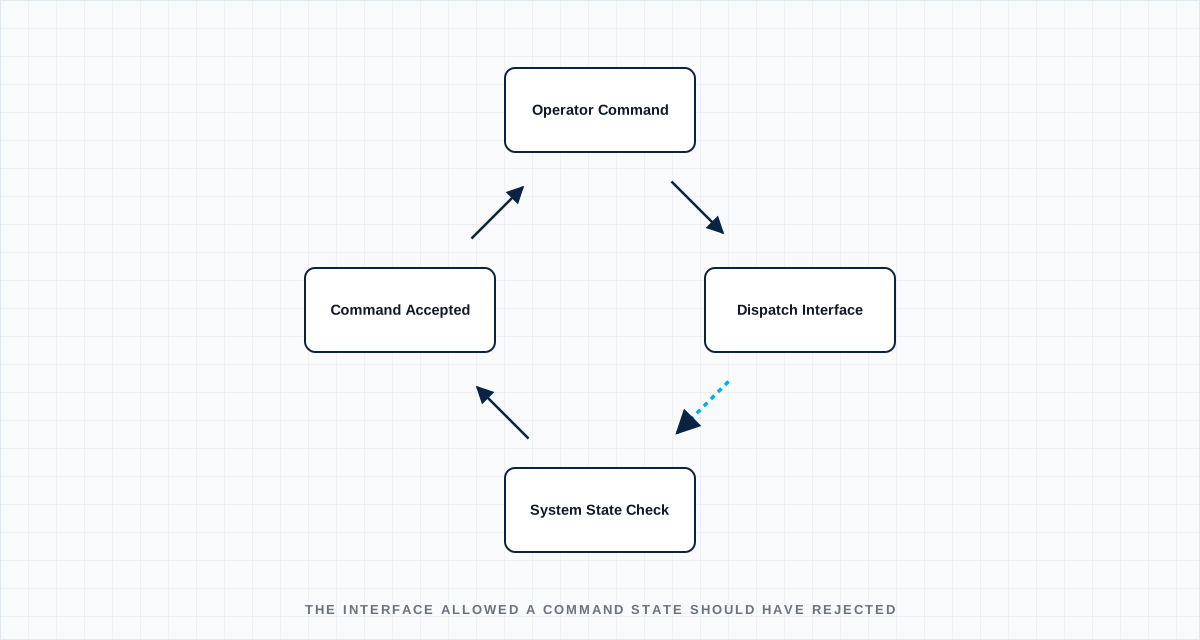
When a grid-scale storage incident traces back to an operator issuing a dispatch command that produced an undesired outcome — an over-discharge event, a command issued during a state the system wasn't actually ready for, a manual override that conflicted with an automated safety interlock — the immediate, easy classification is operator error. Sometimes that classification is accurate. Very often, on closer examination, the more useful finding is that the human-machine interface allowed a command the underlying system state should have made impossible to issue, or at minimum should have required deliberate, confirmed override to accept — and that's a design finding, even though it's initially filed-error-bess-dispatch.svg)
Why "operator error" is often the wrong frame
Human factors engineering has a well-established principle that's routinely under-applied in industrial control system design: if a system allows an operator to take an action that produces a bad outcome, and that action was available, plausible, and not clearly flagged as dangerous at the moment the operator took it, the system's interface bears real responsibility for the outcome, not just the individual who happened to be at the controls that day. An interface that permits a dispatch command without validating it against current state-of-charge, thermal status, or grid conditions isn't "trusting the operator" — it's deferring a safety check to a human working under real-time pressure, who has less complete state information than the system itself does at that moment.
This reframing matters practically, not just philosophically, because "operator error" as a root cause classification tends to produce a remediation plan centered on retraining and procedure updates — genuinely useful, but incomplete if the underlying interface gap that allowed the error remains in place for the next operator, on the next shift, under the next moment of time pressure.
Where this specifically shows up
Commands accepted without state validation. A SCADA or EMS interface that allows a discharge command to be issued without checking current state-of-charge against the requested discharge duration and rate is structurally permitting an over-discharge event, not merely failing to prevent one caused by operator inattention.
Override mechanisms without escalating friction. A manual override that's exactly as easy to invoke as normal operation provides no signal to the operator that they're stepping outside a validated automatic control envelope — genuinely necessary overrides exist, but the interface should make the exceptional nature of that action unmistakable, through deliberate confirmation steps or visual distinction, not treat it identically to routine commands.
Alarm fatigue masking the signal that mattered. Systems that generate a high volume of low-severity alerts train operators, entirely reasonably, to deprioritize alert response — and the specific alert that mattered, buried in that volume, gets the same reduced attention as the routine ones around it. This is a well-documented human factors problem with a known cause (poor alarm prioritization design) that gets misattributed to operator inattention far more often than it gets attributed to the alarm system design that produced the fatigue in the first place.
What a better root-cause process looks like
Incident review for operator-involved events should explicitly ask, as a required step rather than an optional one: what information did the operator have available at the moment of the decision, was the eventual outcome distinguishable from a normal, acceptable action at that moment, and would a reasonable, adequately trained operator, given the same interface and the same available information, have been likely to make the same choice? When the answer to that last question is yes, the finding belongs in the interface design column of the post-incident review, not solely in the training column — and remediation that only addresses training, while leaving the interface gap in place, is remediation that's likely to see the same incident again with a different operator's name attached.
Define the boundary
Name the operating state, interfaces, tolerances and degraded conditions. A test without a boundary only proves the sample survived once.
Capture the right signal
Choose measurements fast and close enough to the mechanism to explain cause, sequence and margin—not just the final alarm.
Set a decision rule
Agree before the test what passes, what triggers redesign and what uncertainty requires another experiment.
Turn the lesson into a validation plan.
Bring us the requirement, failure signature or architecture boundary. We will help frame the evidence needed to make the next decision.